Inputs

Once your new section is created, you can continue building your Form by adding inputs. These can be added by selecting the button, which will open the ‘new field’ panel.

Adding Inputs
There are five types of inputs:
- Text
- Date
- Photo upload
- Relationship
- User
The default content type is text but you can select whichever one you need with the drop down box that appears.
Each input requires a label, which can be a question, instruction, or statement that you want the User to address.
Text
Single & Multiple Line Text Inputs
Select Text from the ‘type’ drop down box. This input allows the user to enter a single line of text. Ticking the ![]() Long Answer box allows the User to enter multiple lines of text where necessary.
Long Answer box allows the User to enter multiple lines of text where necessary.
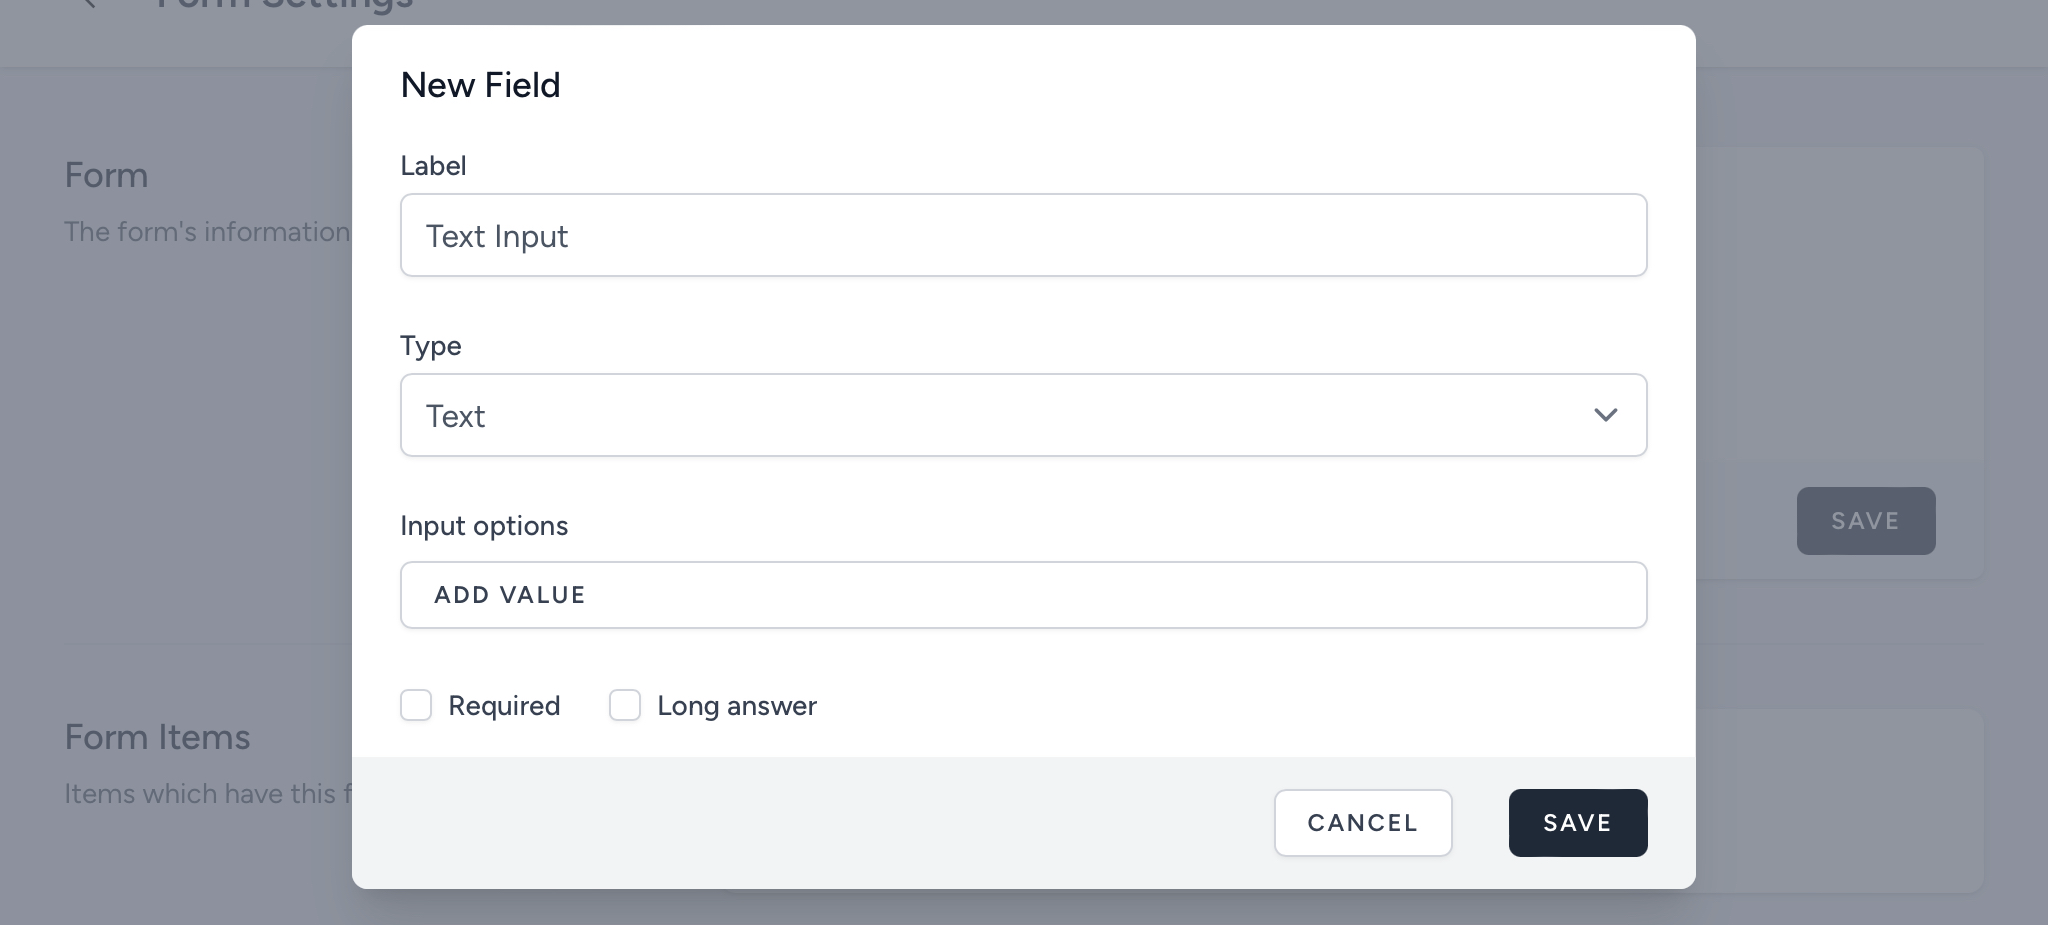
Tick the ![]() Required box if the input is required, and then press the button to save your input.
Required box if the input is required, and then press the button to save your input.
Single Tick Box
Selecting the button once creates a single option tick box answer. This is useful if you want the User who is submitting the Form to agree to a particular statement.
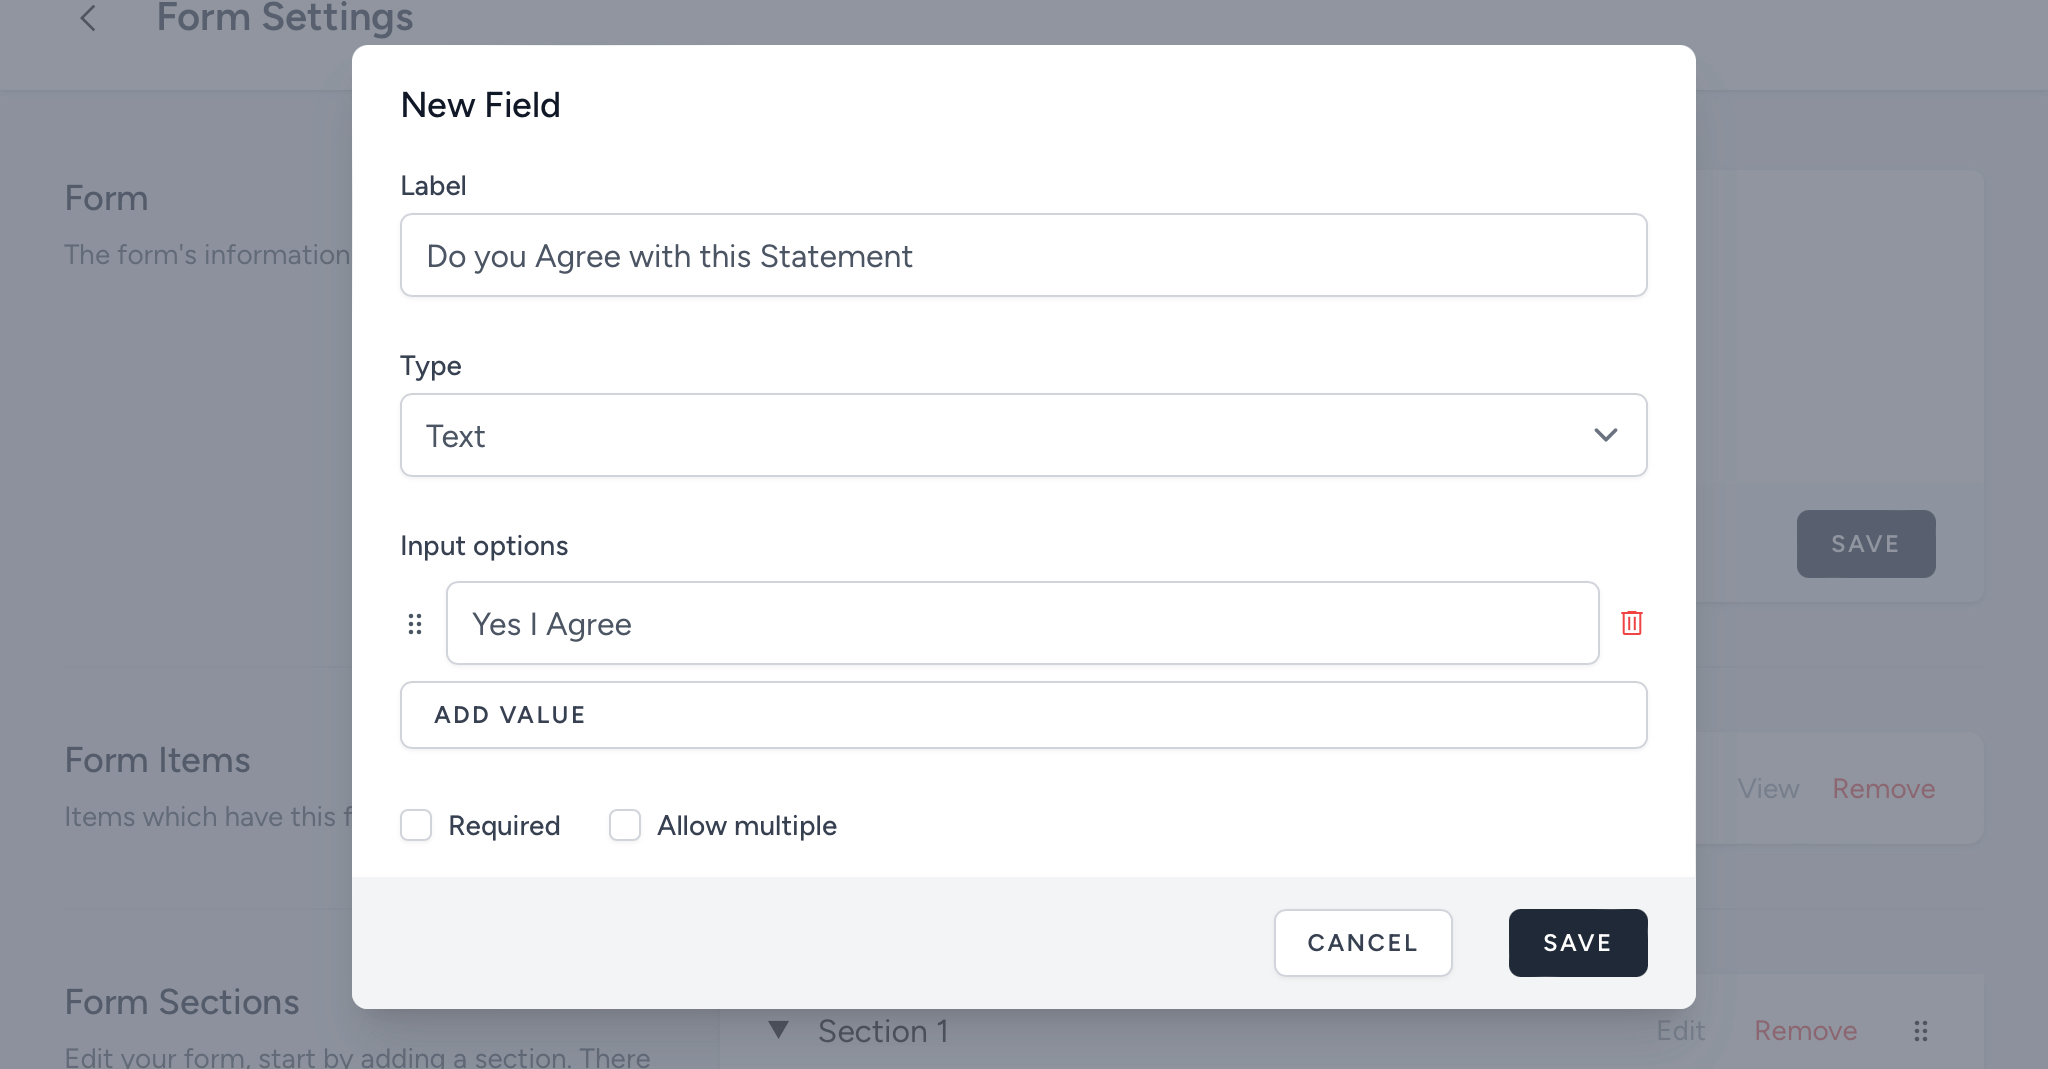
Tick the ![]() Required box if the input is required, and then press the button to save your input.
Required box if the input is required, and then press the button to save your input.
Multiple Tick Boxes
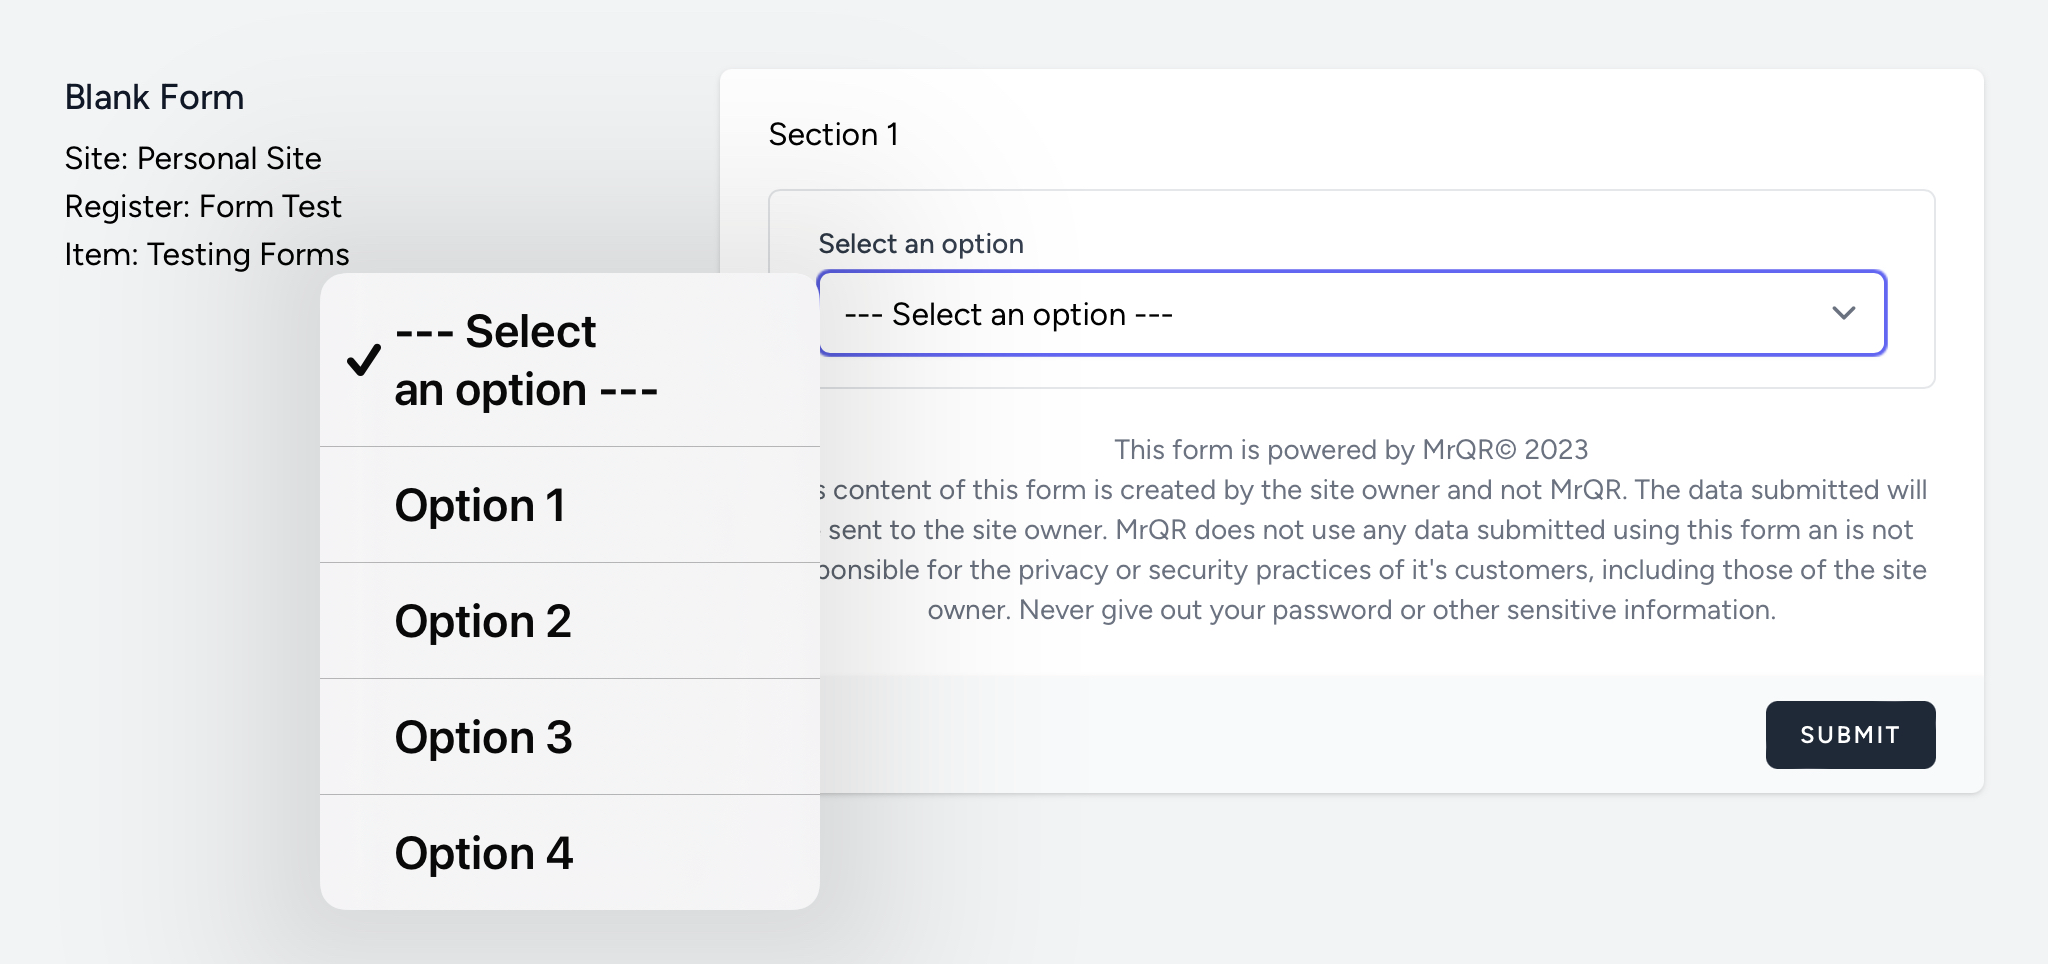
Selecting the button multiple times will create several tick box answers. This is useful if you want the User submitting the Form to select a particular statement from a range of options.
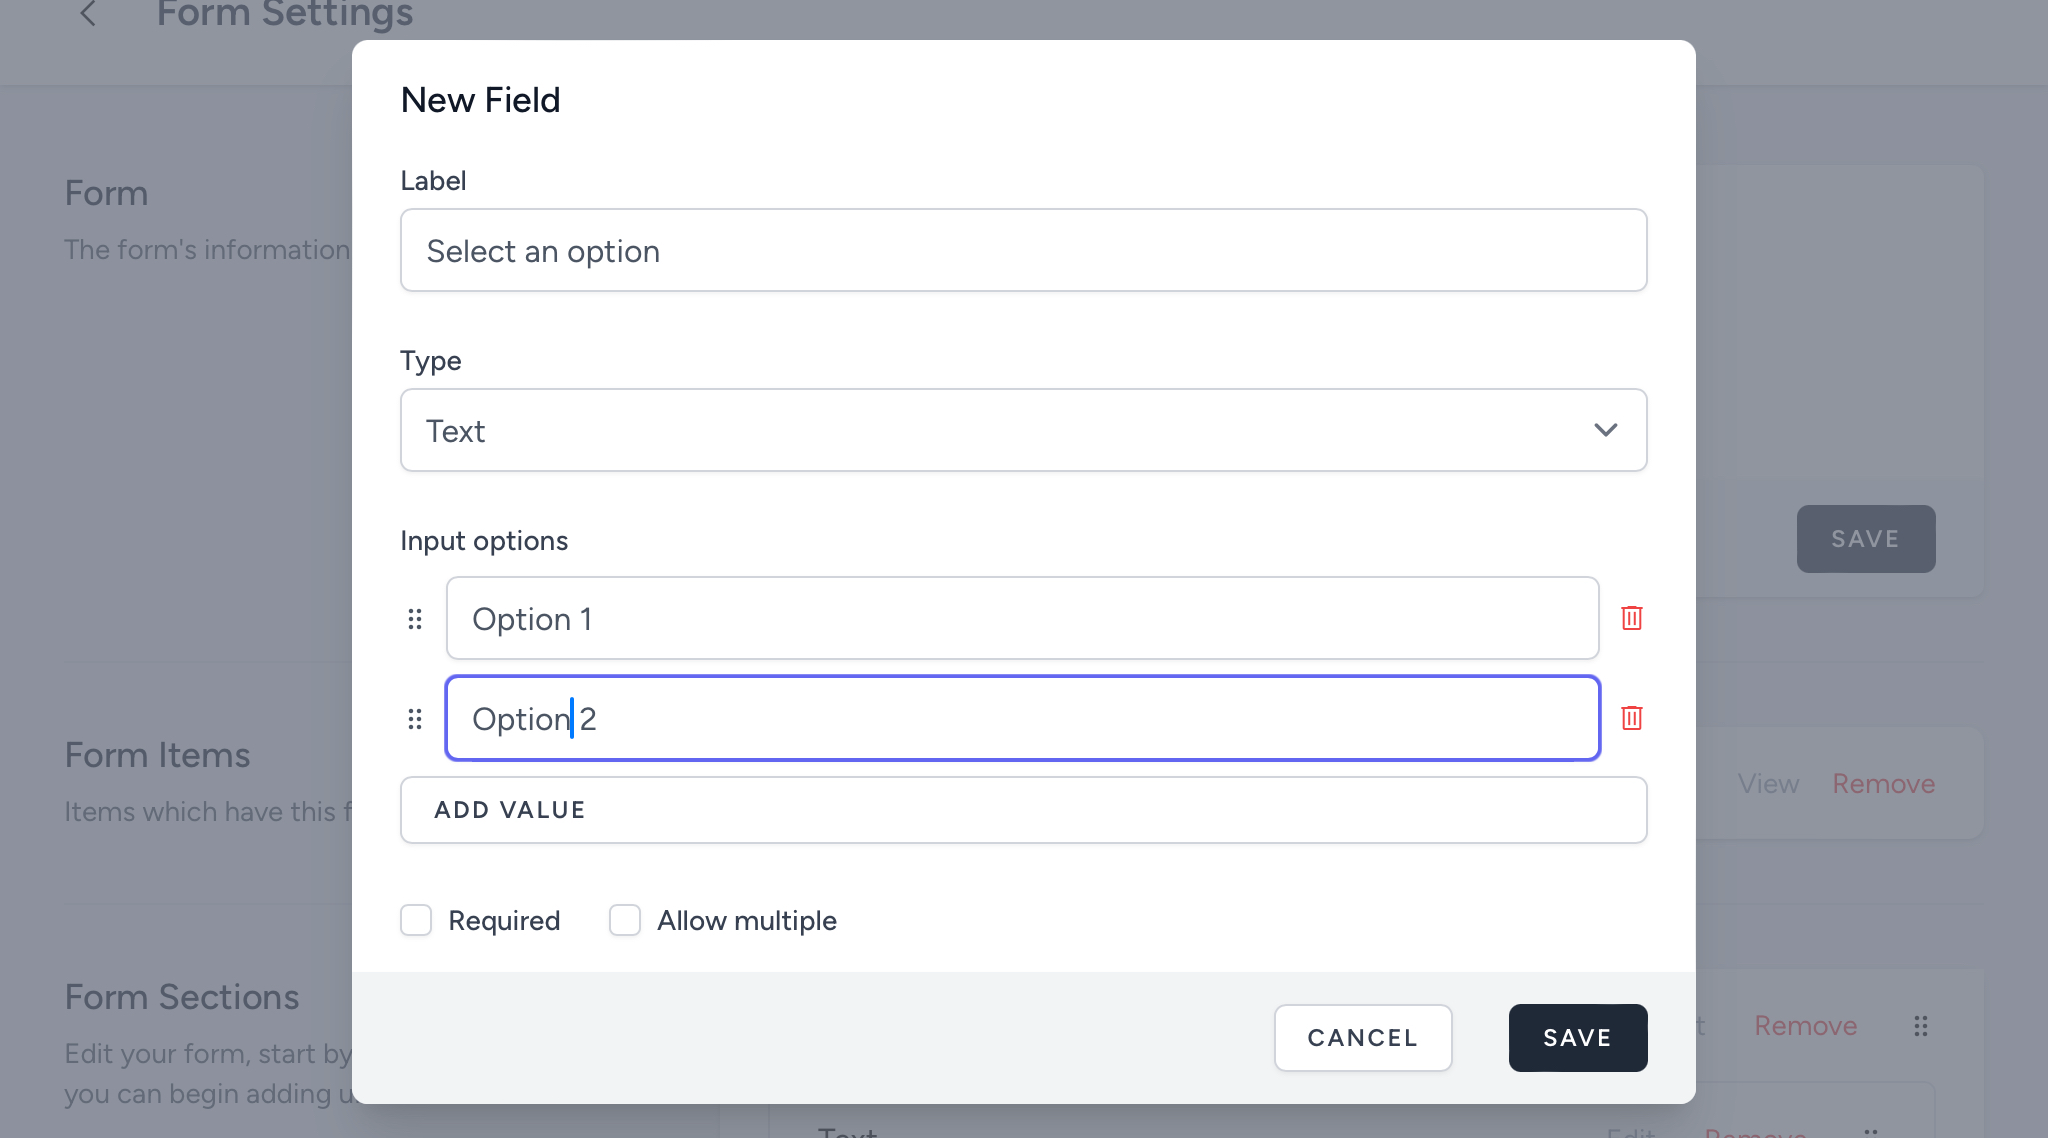
Tick the ![]() Required box if the input is required, and then press the button to save your input.
Required box if the input is required, and then press the button to save your input.
If you want to allow the User to select multiple answers, tick the ![]() Allow Multiple box.
Allow Multiple box.
Adding up to three values creates a checkbox list. 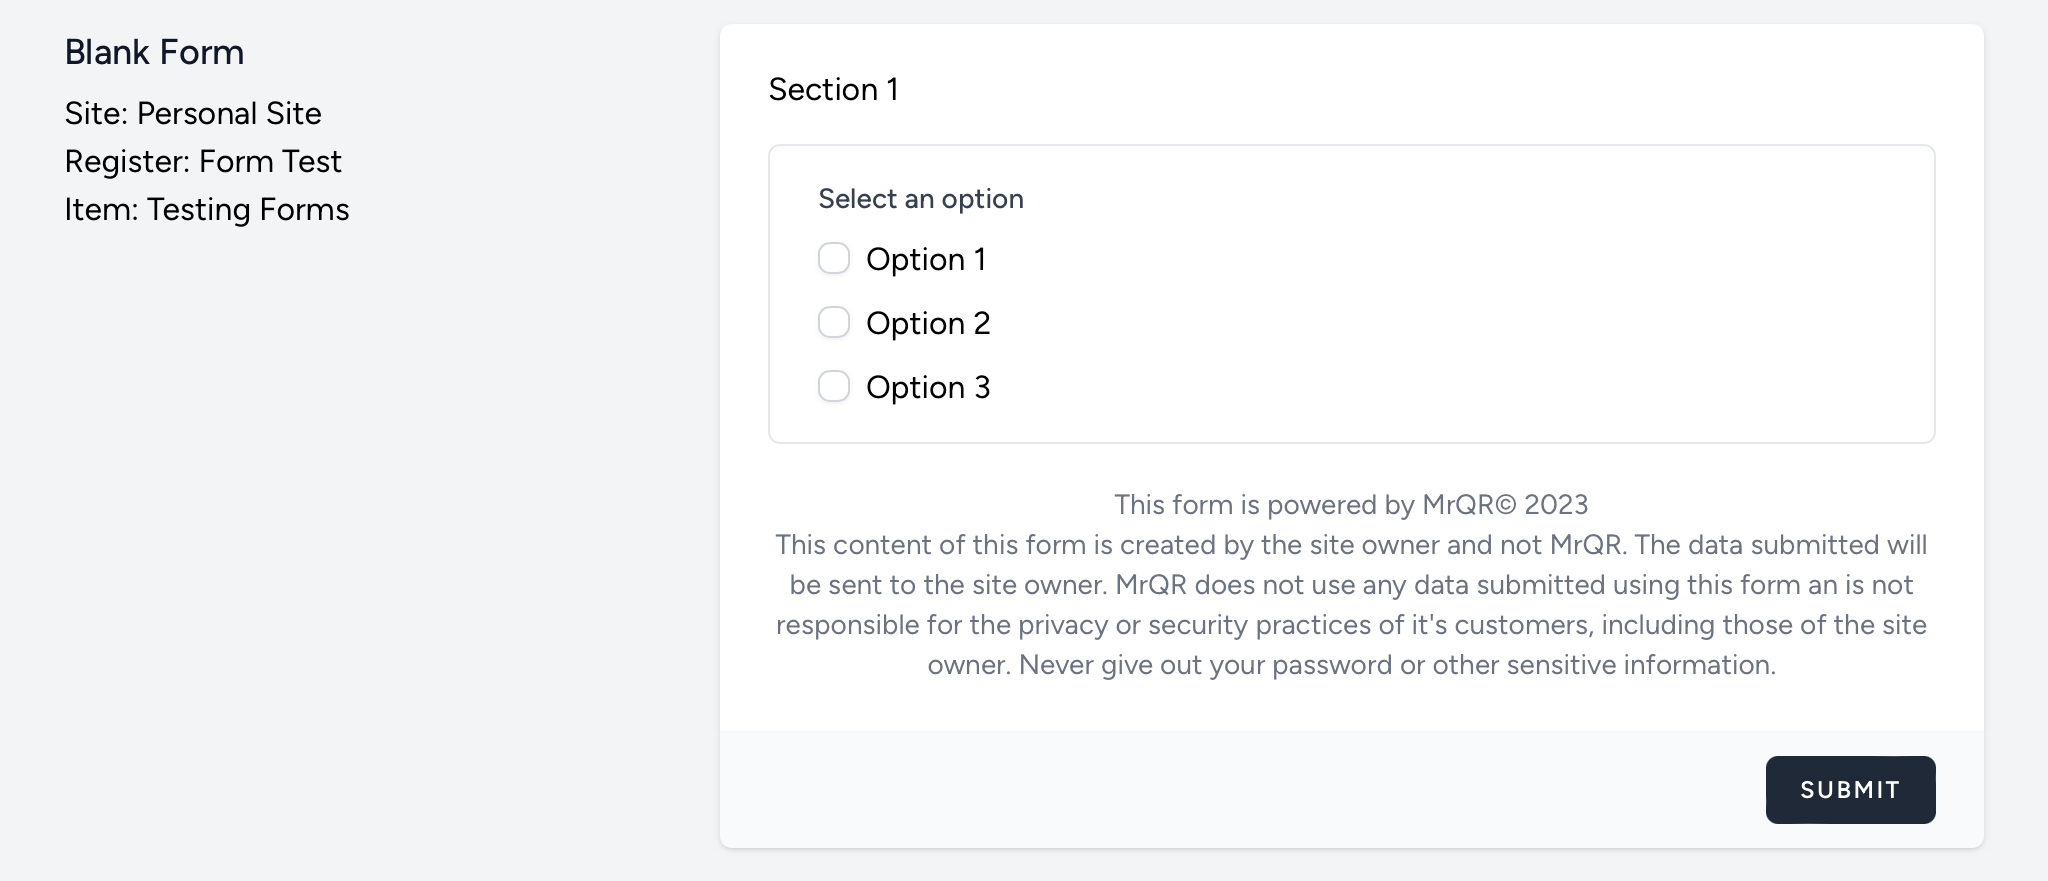
Adding four or more values creates a dropdown box during Form entry.
Date Inputs
Select Date from the ‘type’ drop down box. This input opens a calendar to enable the User who is submitting the Form to select a specific date.
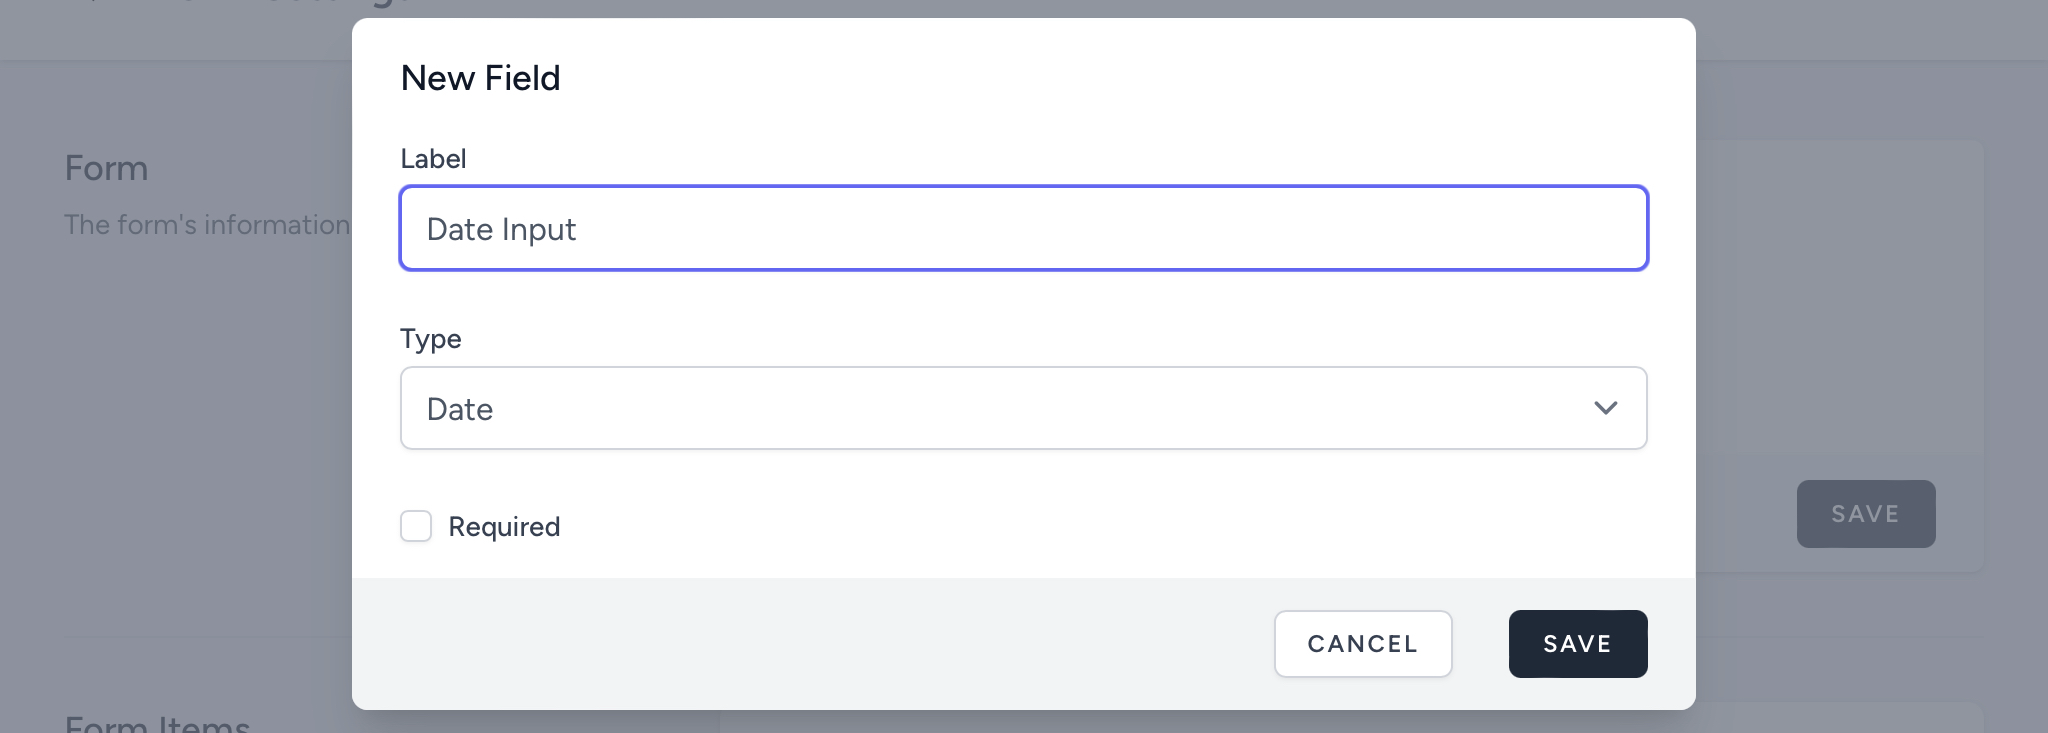 Tick the
 ![]() Required box if the input is required, and then press the button to save your input.
Required box if the input is required, and then press the button to save your input.
Photo Upload Inputs
Select Photo Upload from the ‘type’ drop down box. This input allows the User who is submitting the Form to upload images from their device.
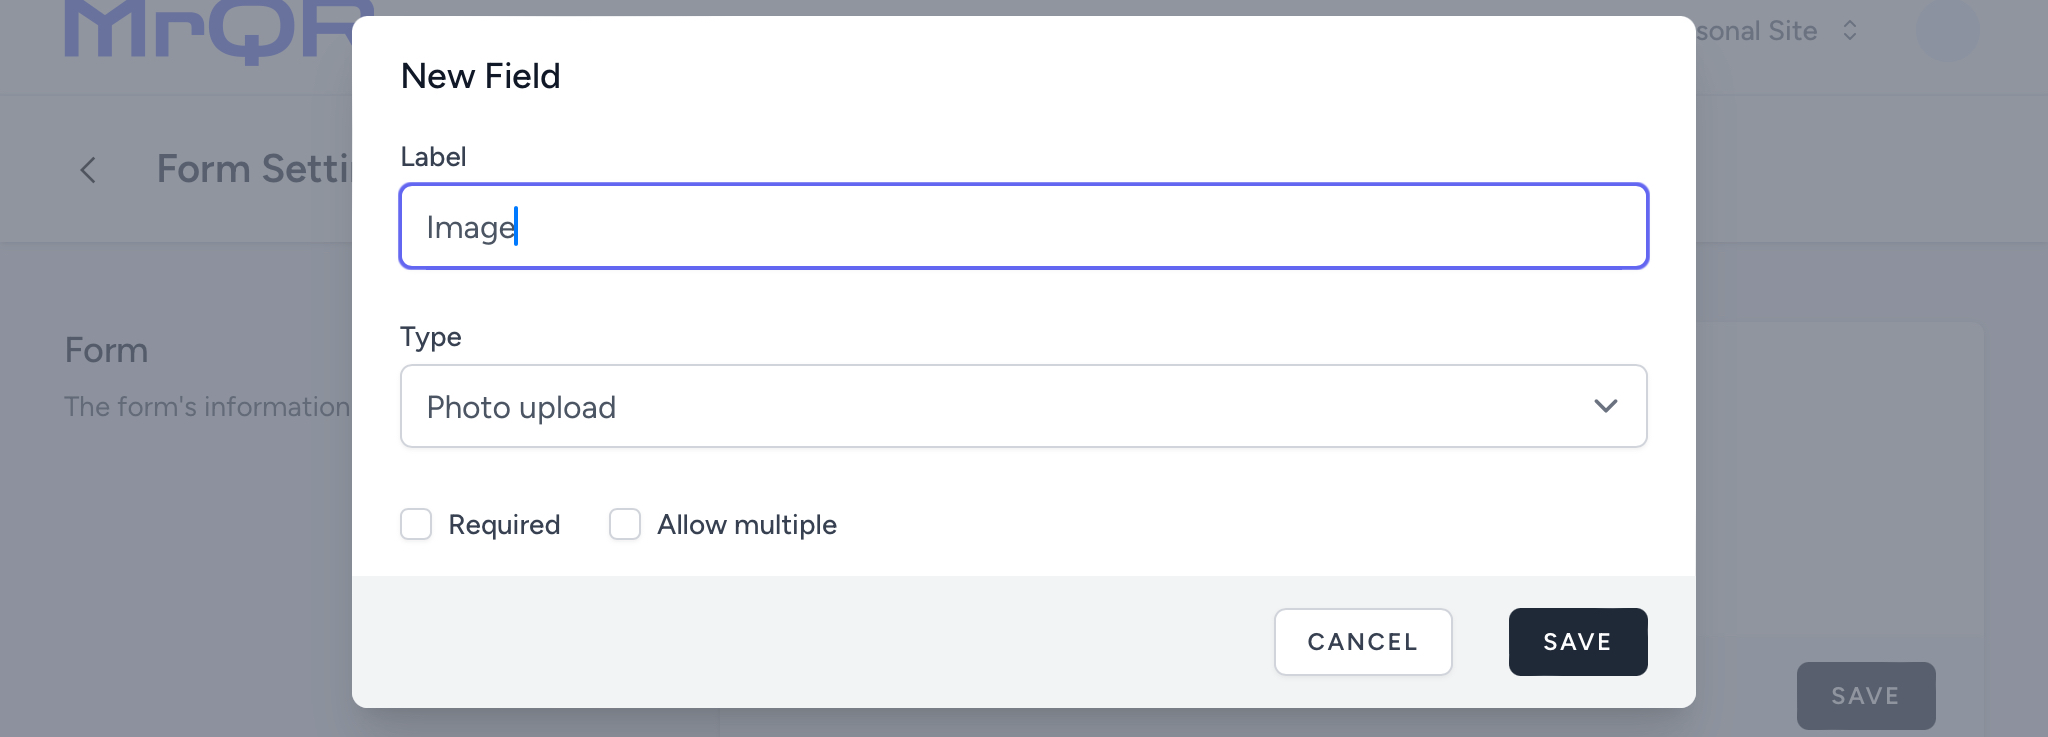
Tick the ![]() Required box if this input is required, and then press the button to save your input.
Required box if this input is required, and then press the button to save your input.
If you want to allow the User to upload multiple photos, tick the ![]() Allow Multiple box.
Allow Multiple box.
Relationship Input
If you have additional Registers and Forms, you can link previously submitted Forms as an input on your new Form. This allows the User to select a previously submitted Form.
Select Form Submission from the ‘type’ drop down box and select the Register and Form you wish to link to your new Form.
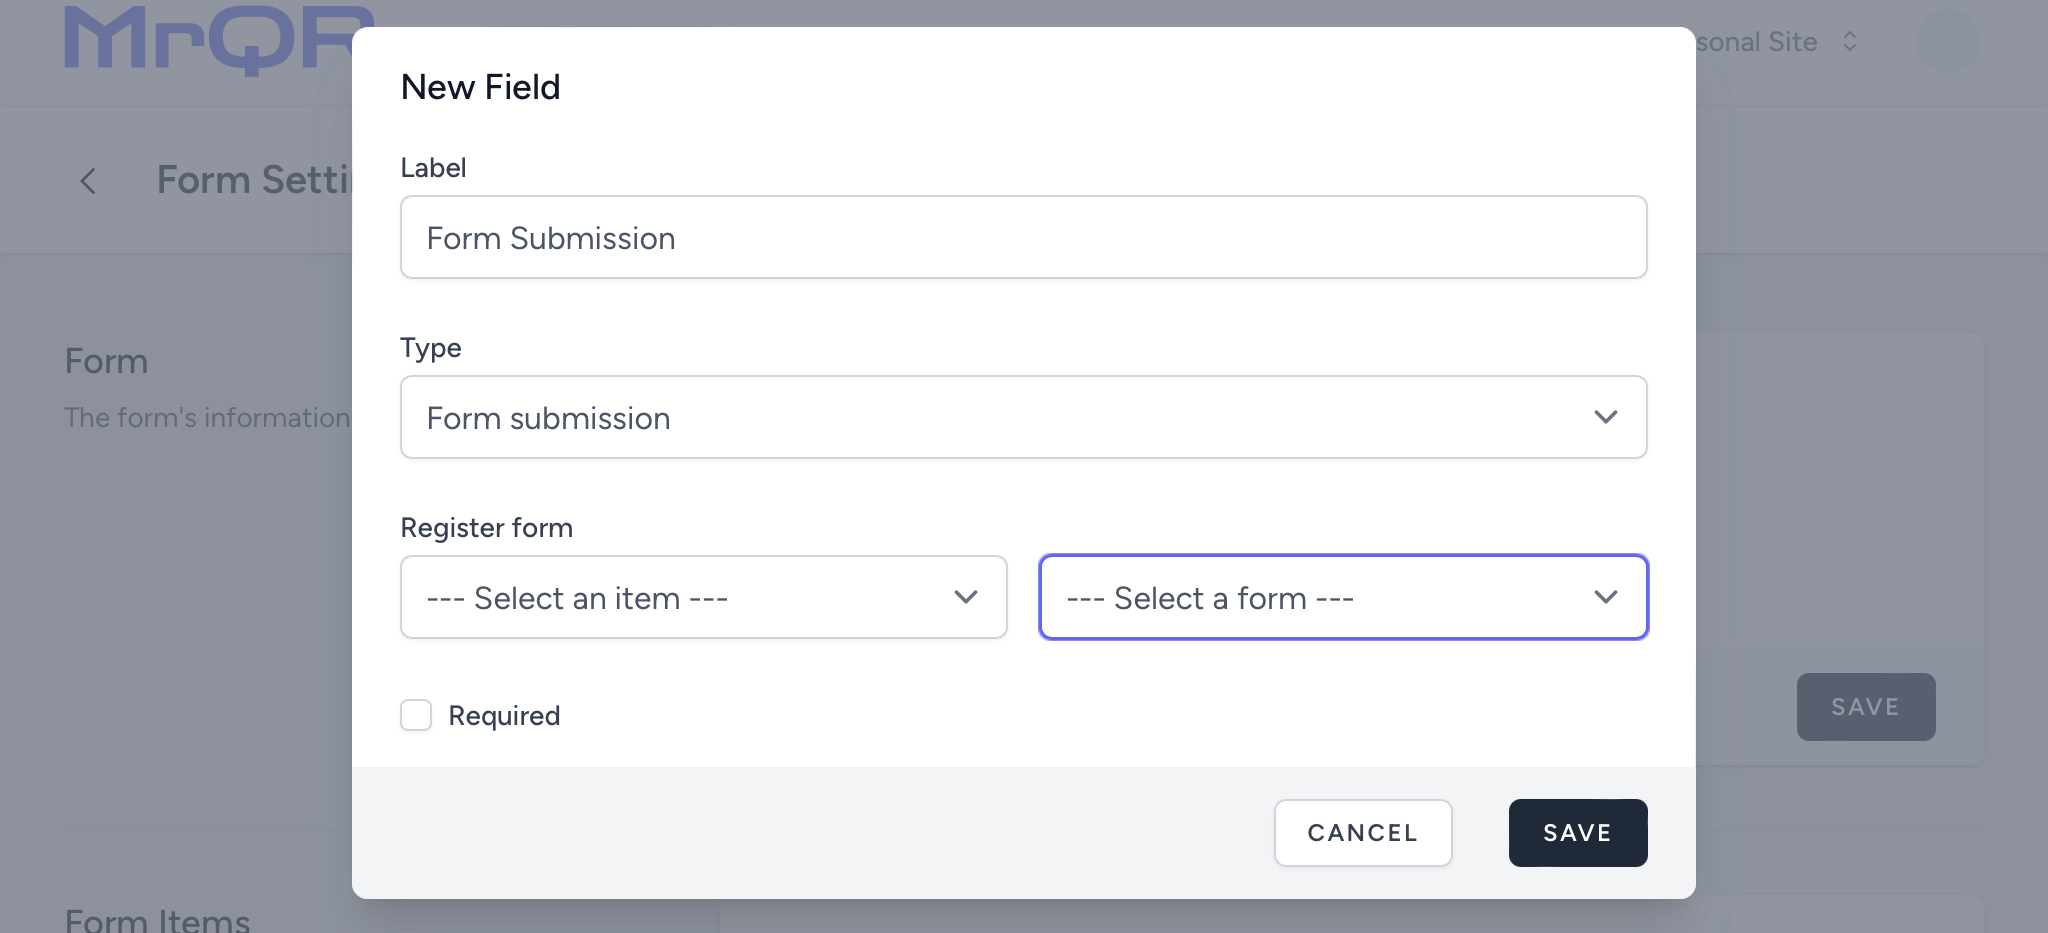
Tick the ![]() Required box if the input is required, and then press the button to save your input.
Required box if the input is required, and then press the button to save your input.
User Inputs
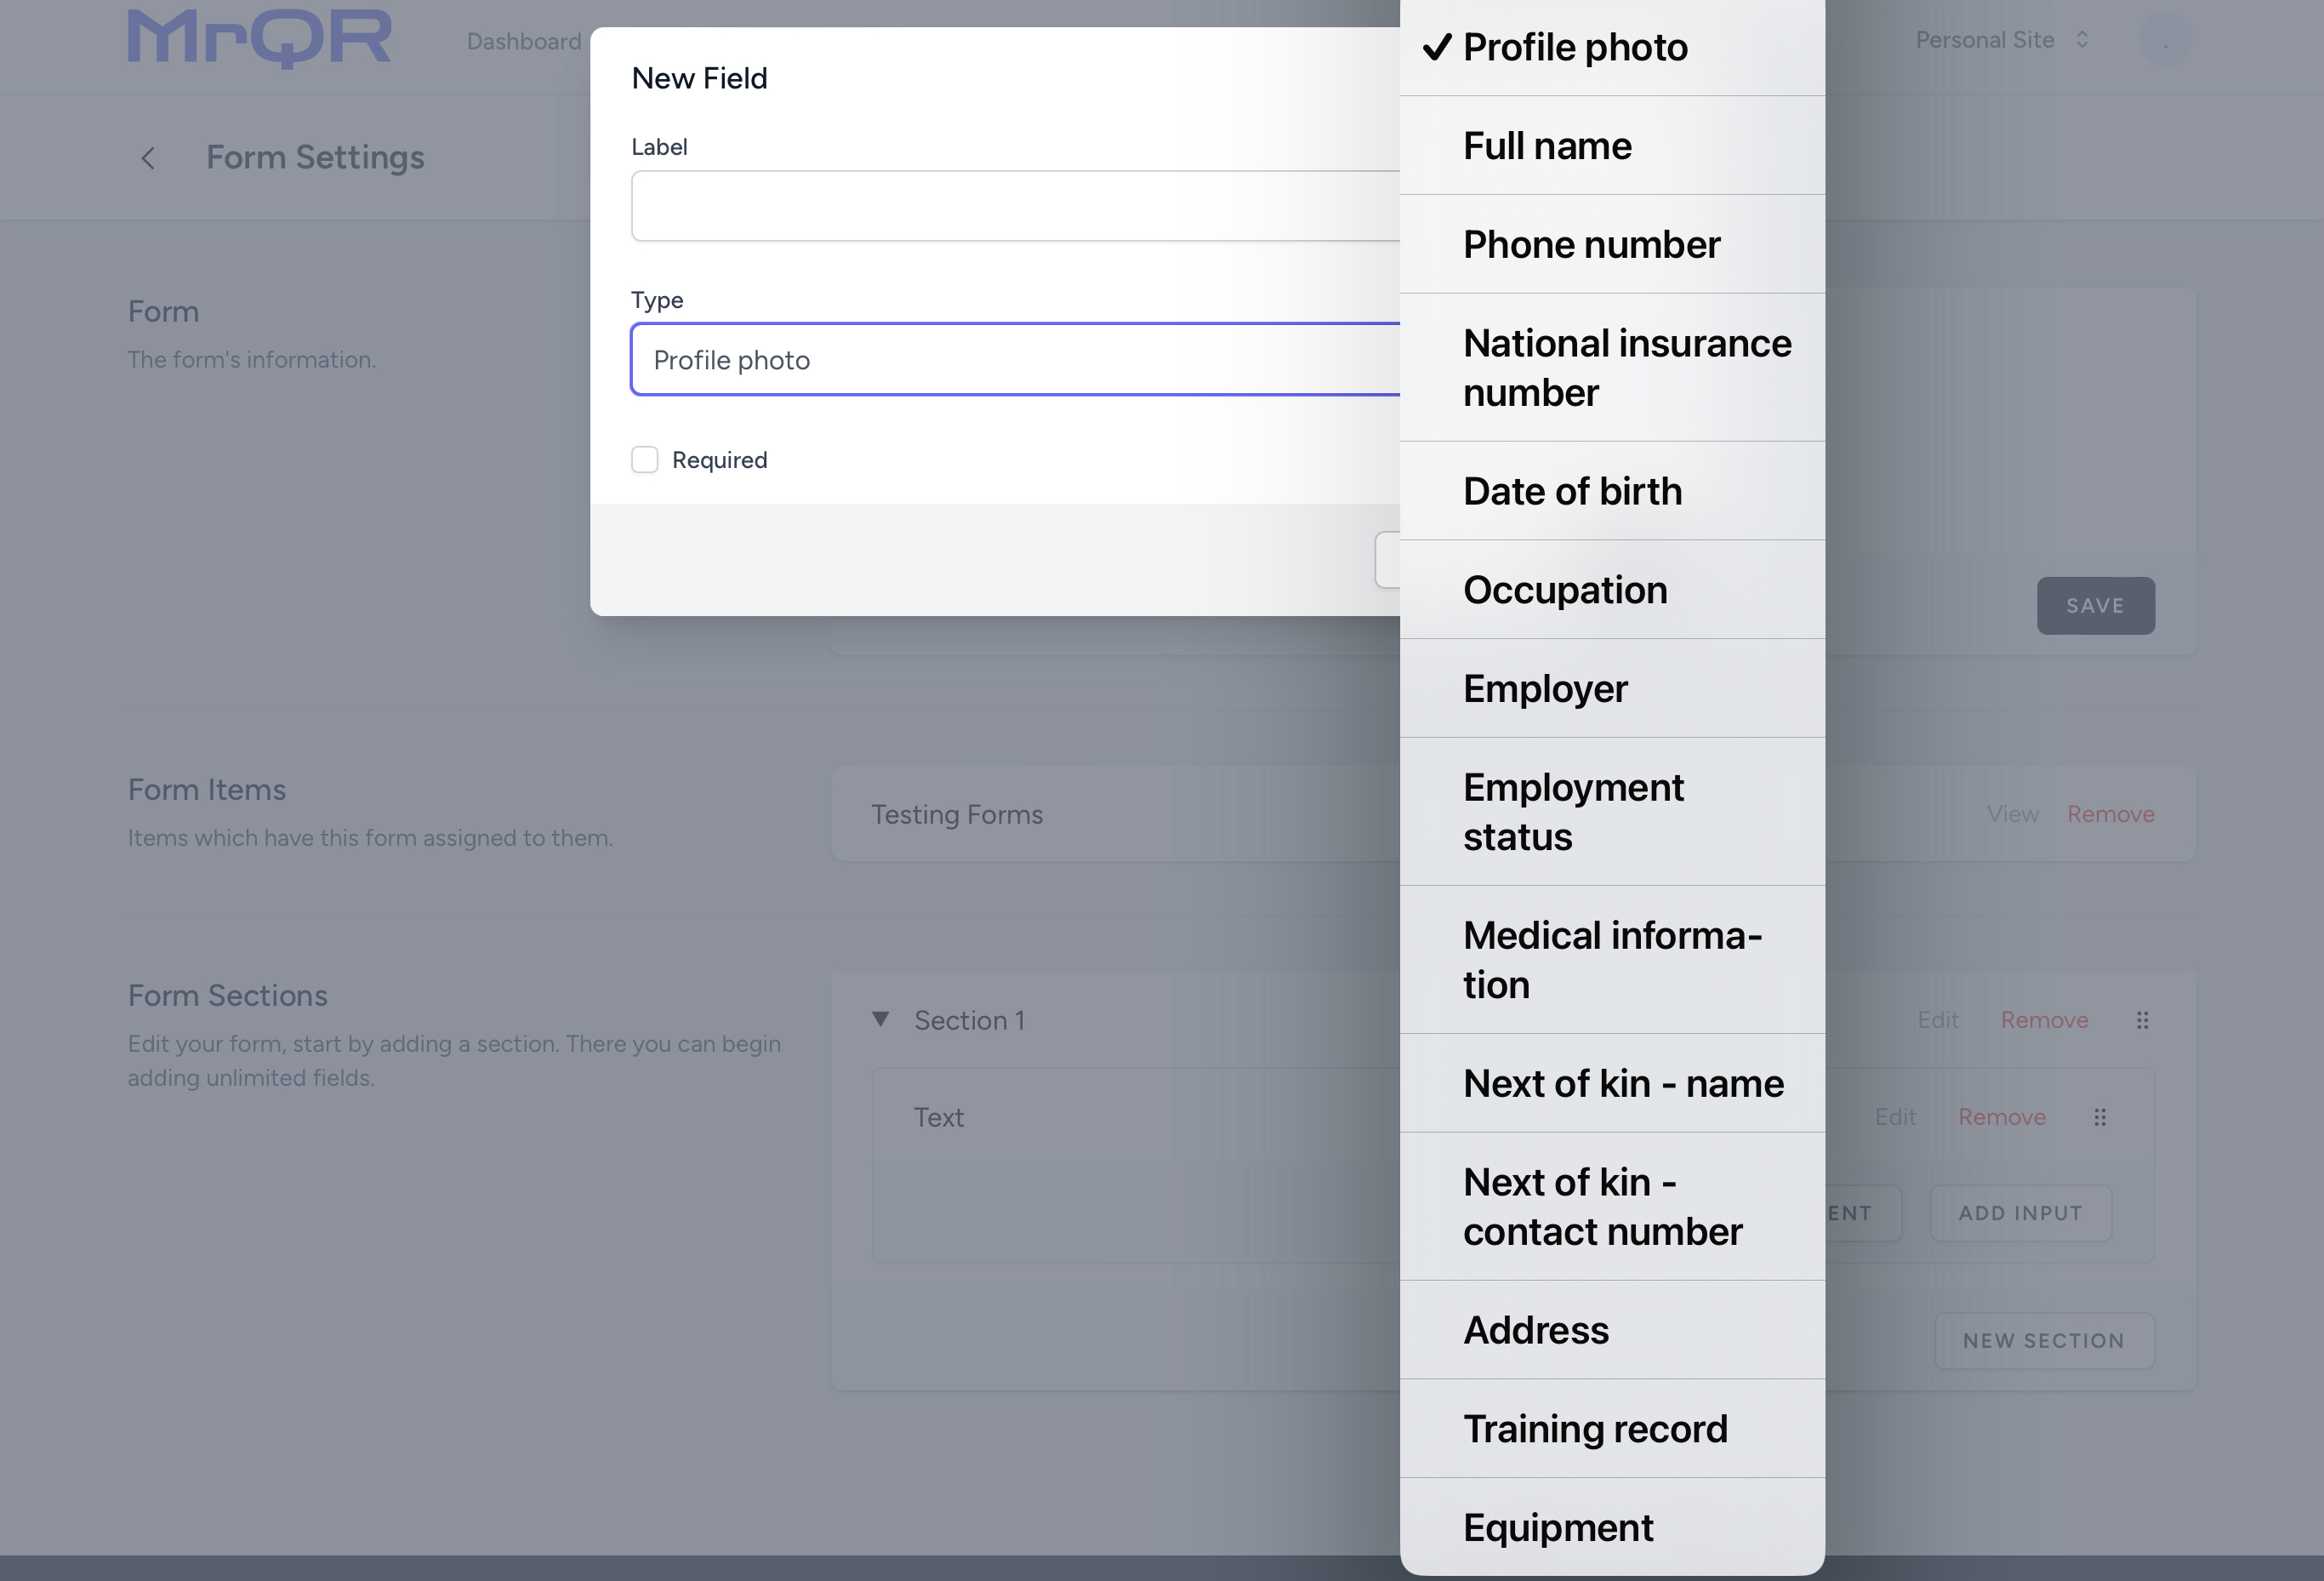
User inputs take the information entered into the User profile page. The User profile data is automatically entered onto a form when the User who is completing the form subscribes to the MrQR Pro User Account.
User inputs include:
- Profile photo
- Full name
- Phone number
- National Insurance Number
- Date of birth
- Occupation
- Employer
- Employment status
- Medical information
- Next of kin - name
- Next of kin - contact number
- Address inputs
- Training record inputs
- Equipment inputs
Select the required User input from the ‘type’ drop down box.
Tick the ![]() Required box if the input is required, and then press the button to save your input.
Required box if the input is required, and then press the button to save your input.
Editing Inputs
Once your inputs are saved, you can Edit or Remove them at any time. Alterations to Forms will not affect previous submissions. You can rearrange the order of inputs and contents by selecting and moving the ![]() icon.
icon.
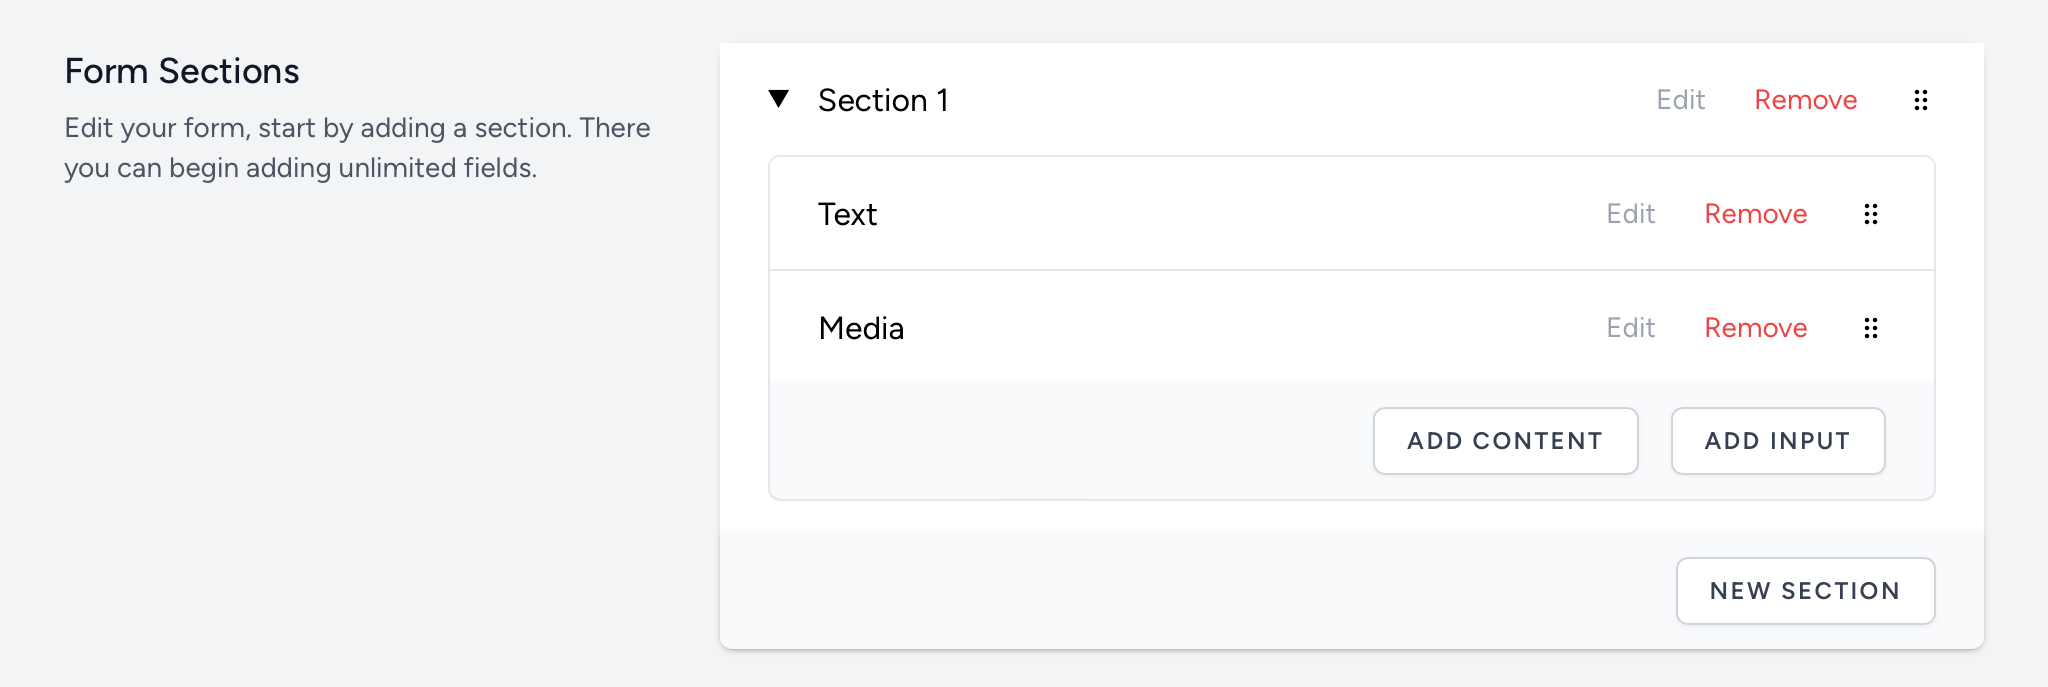
Selecting Remove will open the ‘remove field’ panel. Select the button to confirm the field removal or the button to go back.
